When I got home today, I found a package in the mail. It was from Newegg. Inside was the 2GB stick of SO-DIMM DDR2 RAM I had ordered from Newegg on Monday morning. It is a badly needed upgrade for my Asus Eee PC 1000H notebook. 1GB just does not cut it anymore. It took three days shipped by DHL and USPS from California so it was about the average time for Newegg. It was packed in a very large oversized bubble mailer. Inside, I found the ram in its “clamshell” packaging and a small packing list.
Installing the new ram is very easy. First begin by shutting down the computer. I forgot I had “hibernated” my computer this morning so afterwards, it would not turn back on :\. So first and foremost, turn it off completely!!
Instructions after the break!
- Turn off the notebook completely.
- Remove the battery by unlocking it and sliding it out.
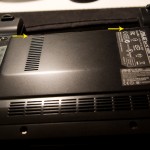
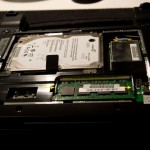
- Unscrew the two screws in the middle plate. Don’t worry, they will not fall out, just unscrew them and pry open the cover to reveal the hard drive, wireless card, and RAM slot. If you are afraid of the Asus EEE PC sticker, just carefully peal it back with something sharp like the blade of a knife and just let it hang while you work and tuck it back on when you are finished.
- Note, in the Eee PCs there is only one single RAM slot, how unfortunate. The MSI Wind has two slots! (Asus are you listening?)
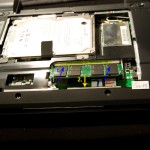
- Once you locate the RAM, slide out the two silver hinges holding it into place, it will pop up at about a 45° angle.
- Slide it out and stick in the new one taking care to maintain the same orientation with the pins, otherwise it just won’t work.
- Push the ram down perpendicular to the notebook so that it locks back in place.
- Lastly, replace the cover and tuck back the hinges, replace the sticker, and screw in the screws to seal the bottom. That’s it, you’re done!
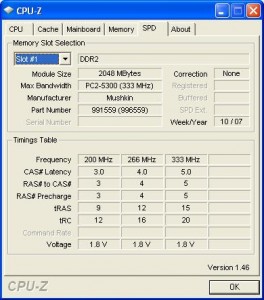
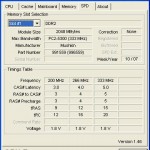
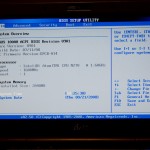
Afterwards, you can run CPU-Z or look in the bios to check that the RAM is functioning and fully read.
CPU-Z Reading RAM Info So, this will be my first post for the new blog.
CPU-Z Reading RAM Info First Step Second Step Third Step bios

